Browse documentation
Defining Your Target Schema & AI Planning
Define your pipeline's source of truth, then let Elvity's AI generate an automated, human-verified mapping plan.
This section guides you through defining a Target Schema — your pipeline’s “Source of Truth” — and outlines how Elvity’s AI processes your schema to generate an automated, human-verified data mapping plan.
The Target Schema Wizard
You can build, configure, and enforce validation rules on a target schema entirely in the browser using the step-by-step Target Schema Wizard.
Step 1 — Create a New Schema
- 1Navigate to Target Schemas in the left sidebar (
/schemas). - 2Click the Create New Schema button in the top-right corner of the page.
- 3On the Target Data Definition page, select how you want to build the schema.
- Upload Sample File (Recommended): Reverse-engineer fields instantly from an existing CSV or Excel template.
- Describe with AI: Describe what you need in plain English (e.g., “Contact list with name, email, and phone”).
- Connect via API: Paste a JSON payload or crawl an active endpoint.
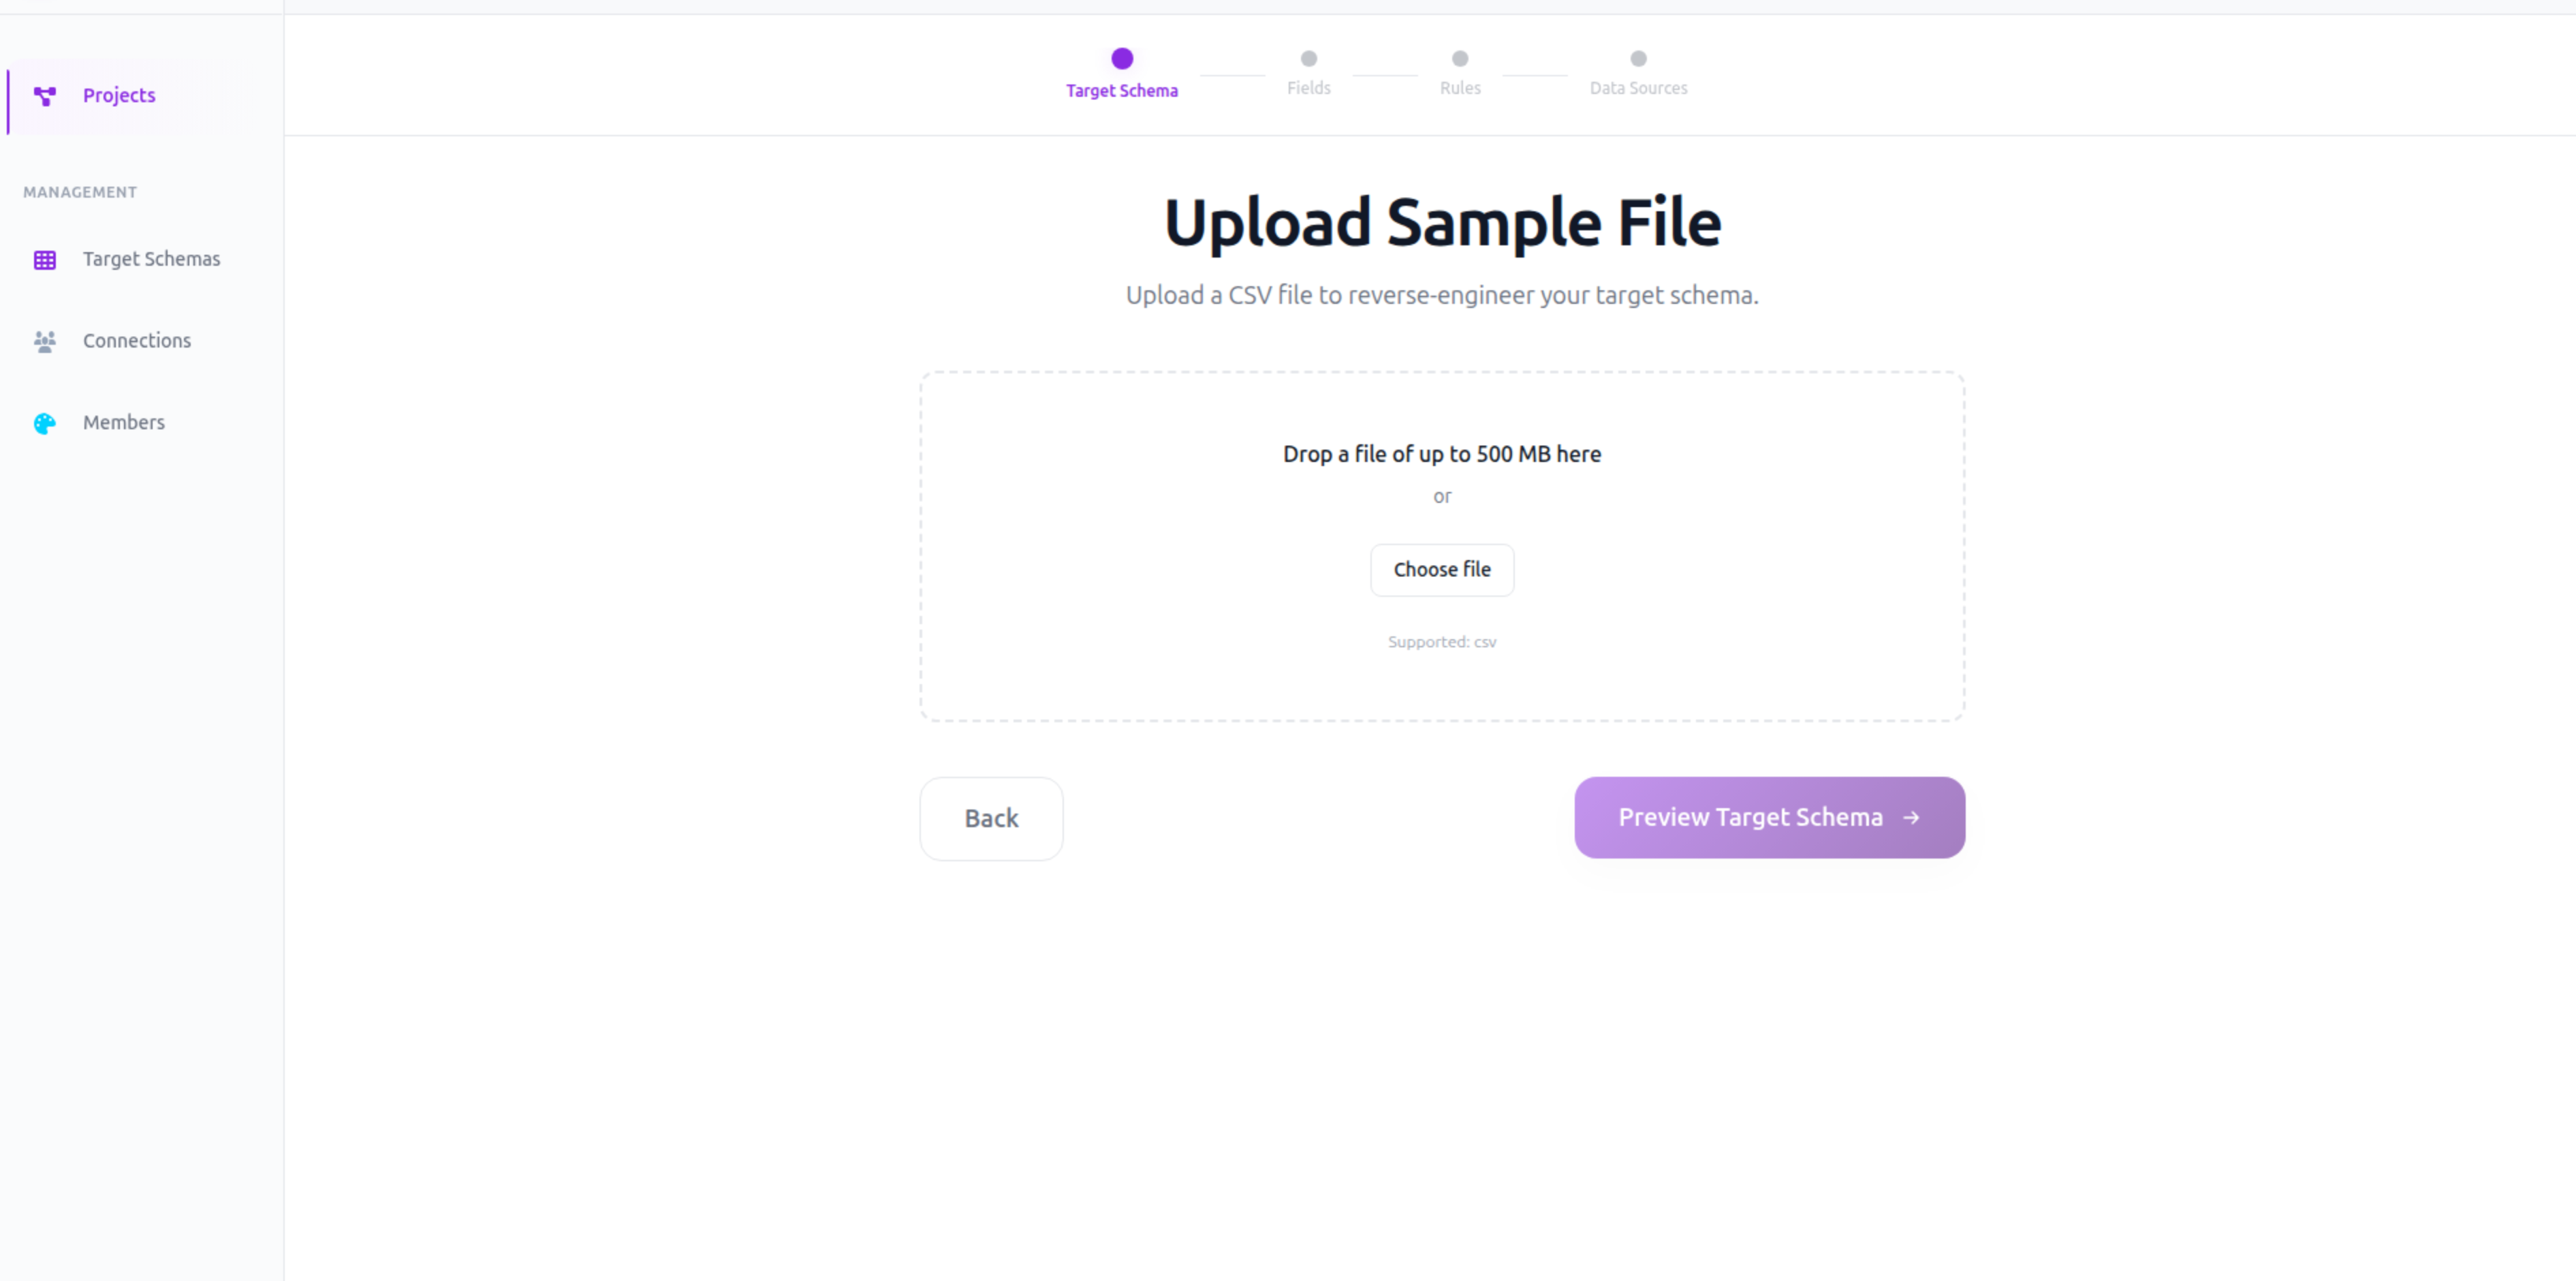
Step 2 — Upload Your Sample File
(If “Upload Sample File” was selected)
- 1Drag and drop your
.csvor.xlsxfile into the dashed dropzone, or click Choose file to select one locally. - 2Once the file is processed, click the Preview Target Schema button.
Step 3 — Refine Target Fields
On the Refine Your Target Schema page, configure your columns:
- 1Schema Identity: Give your schema a recognizable Name (e.g.,
Partner Onboarding Schema) and an optional Description. - 2Include/Exclude Columns: Use the Include toggle to select which columns will be enforced. Excluded columns are ignored during ingestion.
- 3Customize Field Names: Double-click any field name in the Target Field Name column to rename it.
- 4Inspect Sample Data: Review the Sample Data column to confirm correct column identification.
- 5Adjust Data Types: Assign types via the Data Type dropdown:
String,Integer,Decimal,Boolean,Date,Timestamp, orJSON. - 6Add Custom Fields: Click + Add Custom Field to manually add validation columns not present in your sample file.
- 7Click Next to save your fields.
_1781289874511-shM9ETxs.png)
Step 4 — Configure Validation Rules
In the Validation Rules workspace, configure smart guardrails to protect your target systems from bad data. Select a column in the left Field Rules sidebar, then apply standard rules:
- Required: Enforces that a cell must never be empty.
- Case Match: Aligns text to
UPPER,LOWER,TITLE, orUNCHANGEDcasing. - Content Standardization: Automatically trims whitespace or strips special characters.
- Date/Time Format: Defines the target format (e.g.,
YYYY-MM-DD) with optional source hints. - Timezone: Standardizes timestamps to a specific zone (e.g.,
UTCorEST). - Range: Sets minimum and maximum numerical boundaries.
- Decimal Precision: Hard-stops float values to a specific number of decimal places.
- Allowed Values (Enum): Limits accepted values to a comma-separated list.
Once all column rules are configured, click Save & Finish to register your schema in the system.
_1781289874512-9lbt21Ai.png)
The AI Discovery & Planning Phase
When you associate a Target Schema with an active project, Elvity does not immediately run the pipeline. Instead, the autonomous Data Engineering Agent initiates a formal Discovery & Planning phase.
How AI Discovery Works
- Structured Feeds: If spreadsheets are provided, the AI identifies anchor columns and structures a mapping recipe.
- Unstructured Feeds (PDFs/Images): If no spreadsheet is provided, the AI reads each document, surveys its structure, and groups matching files (e.g., multi-page contracts) into logical rows.
- Lineage Mandate: The AI maps each extracted value so that it can always be traced back to its precise source position.
Reviewing the Data Plan
The AI writes its proposed mapping strategy to a Plan, which renders automatically inside your active project screen.
_1781289874513-D63Q0-0m.png)
1. Unique Identifier — lists the primary key columns (e.g., customer_id, sku_number) the AI will use to track and validate rows.
## 1. Unique Identifier
[
  "customer_id",
  "product_id"
]
2. Target Schema Columns Strategy Table — details exactly where your target columns come from and how they will be transformed.
| Column_Name | Strategy |
|---|---|
First_Name | Extract from CSV F_NAME if available, else fallback to PDF OCR |
Yrs_Experience | Parse from PDF OCR field YRS_EXP, convert string “N/A” to 0 |
Total_Price | Calculated field: Unit_Price * Quantity |
3. Notes — caveats, structural mismatches, or questions (e.g., “PDF invoices contain multiple line items, while the target schema expects single flat rows. Proposing to split each line item into its own row.”).
Course Correction & Approving the Plan
The earlier you catch a problem, the better. You have full control over the AI’s execution plan before any data enters the processing pipeline.
Modifying the Strategy
Open the AI Assistant panel on the right. If any mapping or calculation rule is incorrect, instruct the Assistant in plain English:
- “Don’t calculate Total_Price; take it directly from the ‘Unit_Cost’ column in the CSV.”
- “The unique identifier should be invoice_id, not customer_id.”
The Assistant will update the underlying pipeline recipe, rewrite the Plan, and refresh the rendered workspace.
Final Approval & Batch Locking
The AI will hold execution until you give explicit consent. Once the strategy table aligns with your expectations, type an approval message in the AI Assistant chat, such as “Plan approved” or “Proceed with batch”.
Ready to put this into practice?
Spin up your first pipeline and watch Elvity map your data in minutes.