Browse documentation
Pipelines
Building Automated Data Pipelines
Coordinate the automated path of your B2B onboarding data, from source files all the way to a clean destination.
A Project coordinates the automated path of your B2B onboarding data. Here is how to configure a pipeline from source to destination.
5.1
Create a Project
- 1Go to the Projects dashboard (the main home page of Elvity).
- 2Click the Create New Project button in the top-right corner.
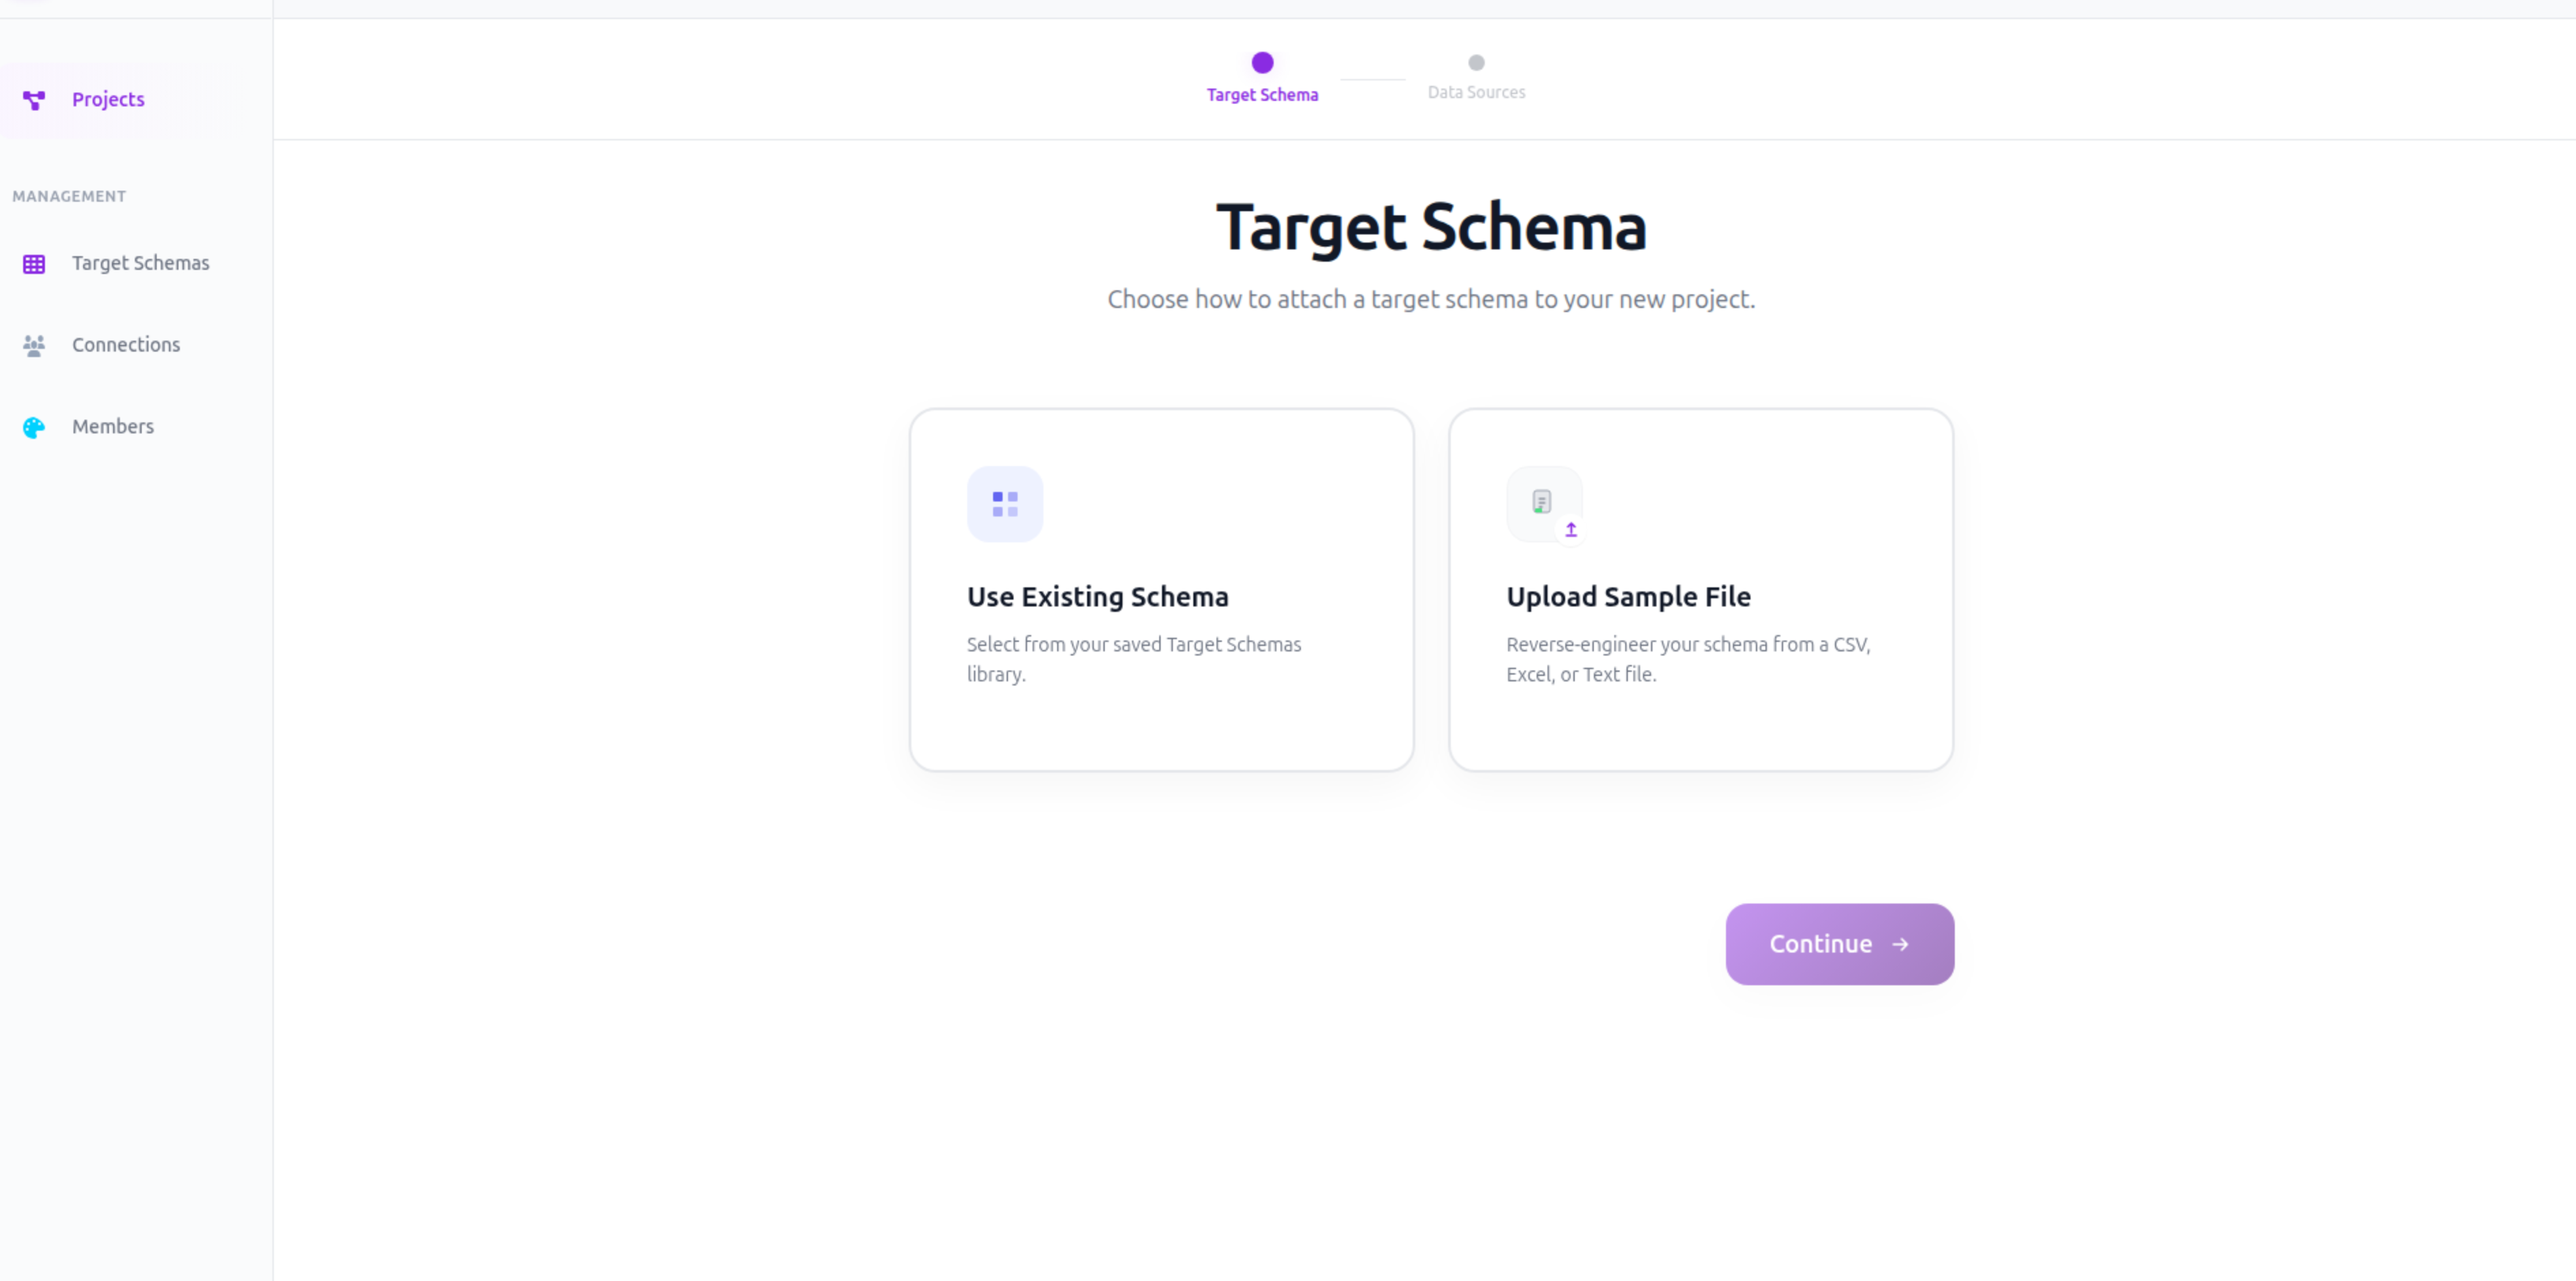
- 3Choose your target schema path.
- Use Existing Schema: Select a pre-configured schema from your Target Schemas library.
- Upload Sample File: Create a new custom schema specifically for this project.
5.2
Configure Input Sources
Once the project is initialized, click on the Setup panel on the right side of the screen to attach input sources:
- 1Local File Uploads: Click Import Data → Upload, drag and drop your files, and click Attach.
- 2Connecting Cloud Storage: Click Import Data → Connect new source… to authorize a third-party connection (Google Drive, OneDrive, Amazon S3, Dropbox, or SFTP).
- 3Browse Cloud Directories: Click your cloud connection name (e.g., “OneDrive”) to open the browser dialog. Double-click folders to navigate, select your candidate files, and click Select.
- 4Selecting Excel Sheets: If you select an Excel spreadsheet or Google Sheet, the Sheet Selector dialog opens automatically. Check the boxes next to the sheets you want to import, then click Select.
_1781289874512-DylpaE5K.png)
5.3
Set Data Destinations
To configure where clean, validated data is written once approved, navigate to the project’s configuration screen and select the Destination step. Then choose your destination card:
- Secure Webhook: Deliver batched JSON payloads directly to your endpoint.
- Cloud Storage: Sync directly to your private Amazon S3, GCS, or Azure Blob bucket.
- REST Retrieval API: Save validated data on Elvity and query it asynchronously.
- CRM Systems: Map and push validated records directly into Salesforce or HubSpot.
For S3 Cloud Storage, fill in the S3 Configuration form:
- 1Enter your S3 Bucket Name and optional Folder Path (e.g.,
partners/onboarding/). - 2Choose your desired output File Format (
JSON,CSV,Parquet,NDJSON) and Region. - 3Provide your Access Key ID and Secret Access Key (or use IAM role integration).
Ready to put this into practice?
Spin up your first pipeline and watch Elvity map your data in minutes.